
On a a hilly ride, a hesitant gear shift or a saddle that is just a few millimeters too high can spoil the acceleration. The RCR Pro Van Rysel comes with high-end components, but without adjustments suited to your morphology and practice, much of its potential remains untapped. Let’s take stock of the concrete adjustments that really change the sensations on the ground.
Saddle tube and workshop stand: the precaution that many forget
Before even touching an adjustment, there is a safety gesture to know. The Decathlon manual for the RCR Pro specifies to never clamp the top tube in a workshop stand. This tube, which connects the saddle to the steering, can weaken or crack under excessive pressure.
You should only clamp the jaws on the seat tube. This also applies to a car bike rack. A high-performance carbon frame does not forgive careless handling, and a micro-crack is not always visible to the naked eye.
This point may seem basic, but the Van Rysel forums are full of feedback from cyclists who discovered the problem too late. If you’re looking to adjust your RCR Pro Van Rysel correctly, start by protecting the frame before optimizing it.
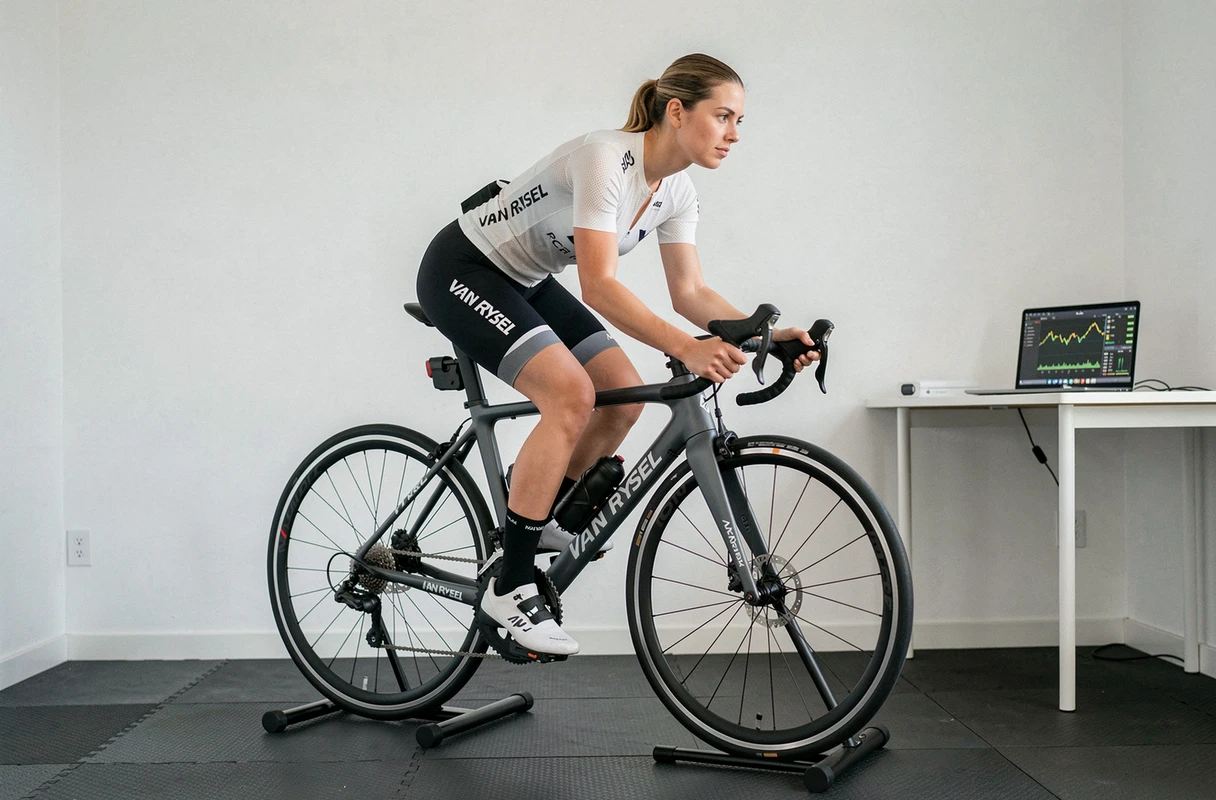
Position on the bike: stem, spacers, and saddle setback
The RCR Pro comes with an integrated cockpit designed for aerodynamics. The handlebar must be tightened to the recommended torque (indicated in the provided documentation), following a cross-tightening pattern to ensure even spacing at the top and bottom.
The real margin for improvement lies in the adjustment of the height and forward position of the cockpit. Adding or removing a spacer under the stem changes the angle of the torso, which affects both comfort and aerodynamics.
On a race-oriented bike like the RCR Pro, feedback varies: some gain respiratory ease with an additional spacer, while others prefer a very low position to maximize aerodynamics.
The method: one parameter at a time
The most reliable bike adjustment guides converge on a simple approach: modify one parameter at a time, ride, then validate before adjusting the next. On the RCR Pro, this means first adjusting the saddle height, then the setback, then the stem, spacing each change by at least one or two rides.
Changing both the saddle height and stem length simultaneously makes it impossible to identify what improves (or degrades) your sensations. You waste time instead of gaining it.
Shimano Di2 transmission: electronic adjustment and friction reduction
The Shimano Ultegra Di2 group on the RCR Pro is a major asset, but it doesn’t adjust itself. A significant part of the performance gain comes from a precise adjustment of the electronic transmission, not just the frame.
Three points to systematically check:
- The limits of the front and rear derailleurs must be correctly positioned to avoid any chain rubbing on the chainrings or pulleys, even under load.
- The electronic indexing deserves a check via the Shimano E-Tube app: a micro-shift of the rear derailleur causes hesitations in gear shifting, particularly noticeable during acceleration or climbing.
- The chain tension and the position of the rear derailleur’s cage must match the mounted cassette. Poor adjustment here generates noise and premature wear.
A well-adjusted Di2 shifts gears without any hesitation or unwanted noise. If you hear a light clicking while pedaling, it is almost always an indexing or limit problem, not a defect in the bike.

Aerodynamic gains of the RCR Pro: at what speed does it really matter
The RCR Pro was designed with a pronounced aerodynamic profile. Recent developments around the RCR-F Pro confirm that Van Rysel thinks in terms of aerodynamic gains that become much more noticeable at high speeds.
In practice, this means that the aerodynamics of the frame and the integrated cockpit make a measurable difference from a certain pace. On hilly rides at a moderate pace, the aerodynamic benefit is less noticeable than the quality of positioning and the smoothness of the transmission.
Adapting adjustments to your type of ride
For a road race or a fast group ride, prioritize a low position, reduced spacers, and an aggressive stance. For long-distance or hilly rides, slightly raising the handlebar and moving the saddle back a few millimeters improves comfort without sacrificing too many watts.
The INPEAK power sensor integrated into the RCR Pro allows you to measure the real impact of each adjustment. Comparing the watts produced at a constant perceived effort, before and after a position change, provides an objective answer that sensations alone do not always provide.
Carbon wheels and tires: the last link in the adjustment
The RCR Pro comes with Swiss Side carbon wheels. Their correct installation involves following the steps illustrated in the Decathlon documentation, particularly tightening the thru-axles to the correct torque.
On the tire side, switching to tubeless setup reduces the risk of punctures and improves rolling efficiency. The tubeless compatibility of Swiss Side rims facilitates this operation, provided you use an appropriate rim tape and sealant.
The choice of tire width also influences the bike’s behavior. Recent Van Rysel prototypes have been seen with 28 mm tires, indicating that the brand itself is leaning towards more volume for a better grip and comfort compromise, without notable aerodynamic penalty on this rim profile.
Each adjustment of the RCR Pro benefits from being tested in isolation and validated by the data from the integrated power sensor. A poorly adjusted high-performance frame remains an underutilized frame, and the margin for improvement between a factory setup and a bike tailored to your morphology is felt from the first kilometers.